

Decorator booked and a radiator in the way? Don't risk a flood or a sludge spill on a fresh carpet. We isolate, drain, and remove the radiator cleanly, then refit and rebalance after the paintwork is dry.
Removing a radiator looks straightforward and is one of the most common DIY accidents we get called to repair the next morning. The risk is twofold. First, the water inside an older radiator is black with iron-oxide sludge that stains walls, carpets, and varnished floors permanently. Second, the compression joints between the TRV, the lockshield, and the tail need to be broken and remade in a sequence that preserves the olive seal, otherwise the radiator weeps quietly for weeks until you find a damp patch on the floor below. Done properly, removal is a 20 minute job per radiator and refitting is another 30 minutes plus rebalancing.
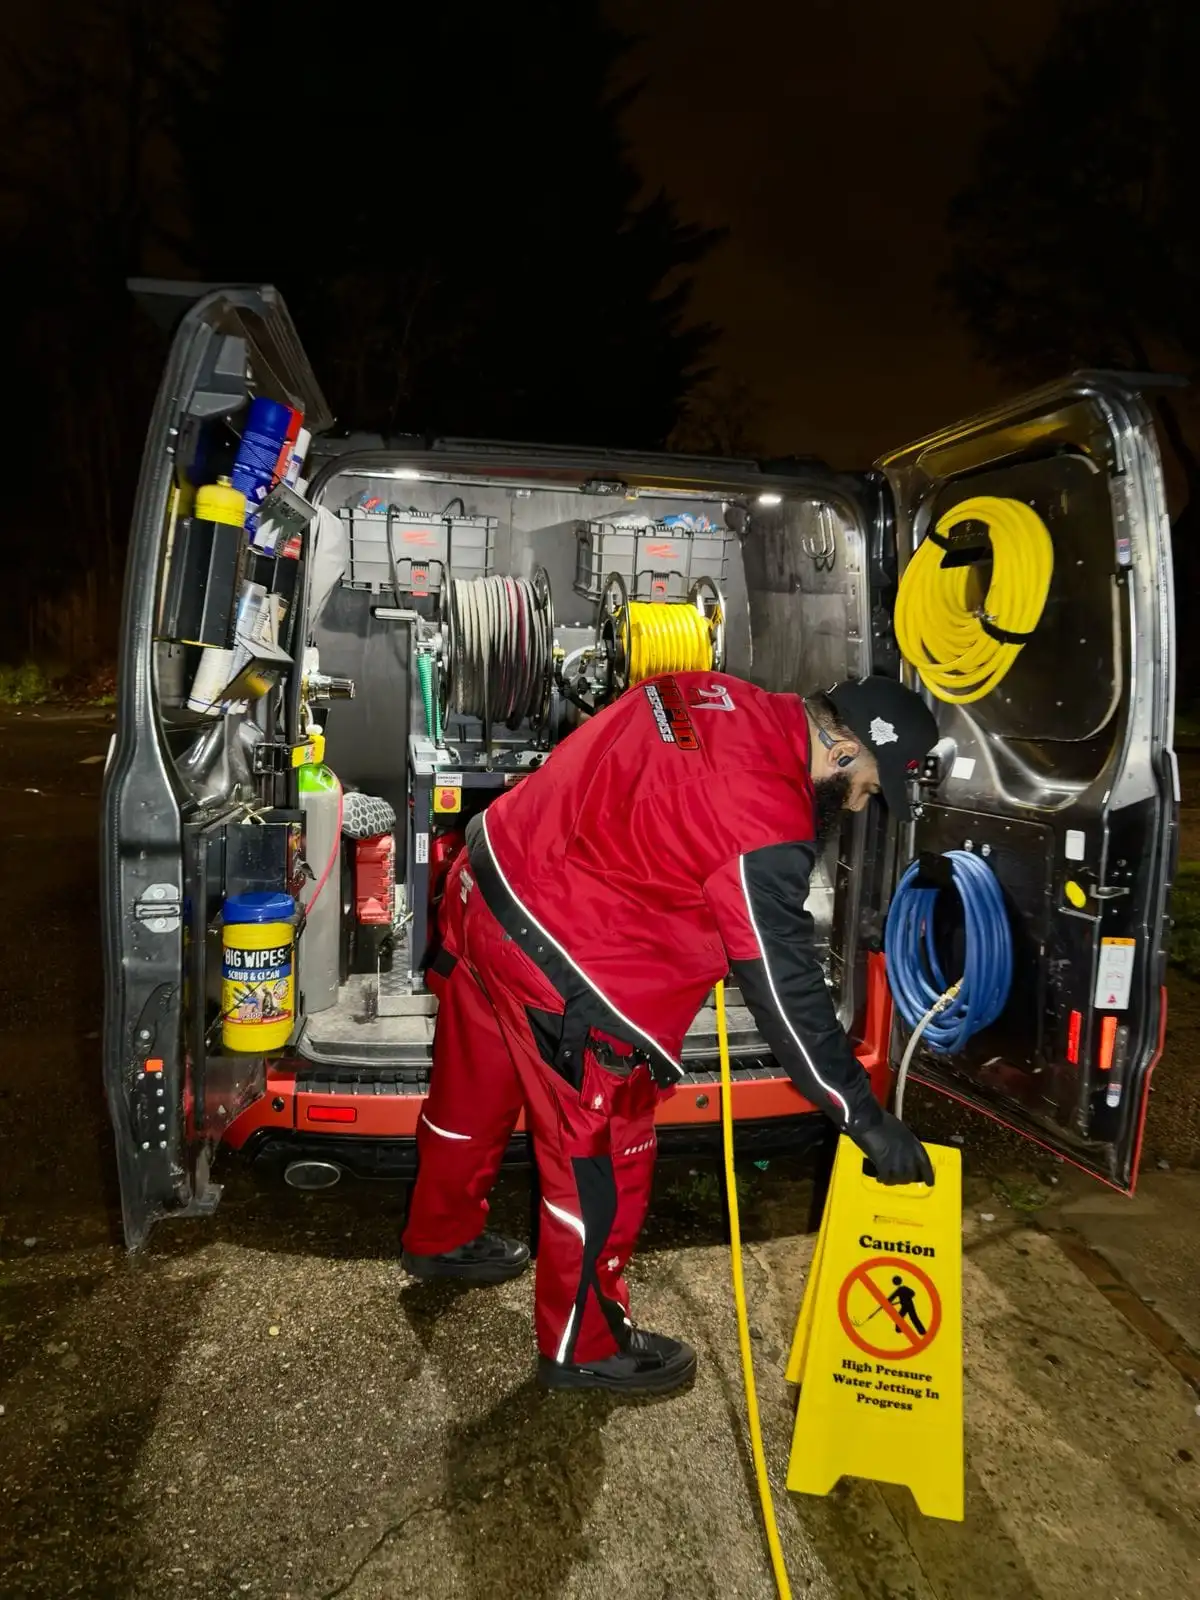
Our engineers attend with absorbent mats, plastic sheeting, a wet-vac, drain points and a set of capped blanking plugs for the live valve tails so we can leave the rest of the heating system running while the radiator is off the wall. We carry Honeywell, Drayton, and Danfoss TRV heads and replacement olives, compression nuts, and PTFE for any joint that needs remaking. After refitting, we re-dose the system with Sentinel X100 inhibitor in line with BS 7593, vent every other radiator, and rebalance to a 20 C delta-T so your Worcester Greenstar, Vaillant ecoTEC, or Ideal Logic stays in efficient condensing operation.
Where this service applies
- Single radiator removal for a feature-wall paint or wallpaper job
- Multiple radiators removed for a whole-room or whole-property refurbishment
- Replacing an old single panel with a like-for-like double or designer radiator
- Plasterer needs access for a re-skim behind a radiator
- Carpet fitters working around fixed radiators, brackets removed for a clean fit
- Bathroom refit where a towel rail needs to be temporarily off the wall
- Removal and reuse of original cast-iron radiators (extra care for weight and olive seats)
- Refit after decorating, including full system bleed, inhibitor top-up, and rebalance
How we deliver
No surprises, no upselling. The exact path every job follows.
- 1
Floor protection
Plastic sheeting and absorbent mats laid under the valves and under a 1.5 m working area. Wet-vac on standby for any black water. - 2
Lockshield turn count
Lockshield closed by exact quarter-turn count and recorded. Allows us to reopen to the same balanced position on refit. - 3
TRV isolation and drain
TRV closed or capped. Bottom union loosened over a bowl. Top union cracked to break the vacuum and drain controllably. - 4
Blanking plugs fitted
Live valve tails capped with blanking plugs so the rest of the heating system stays in service while the radiator is off the wall. - 5
Radiator off the wall
Lifted off the brackets, drained completely outside, and stored upright on a dust sheet. Brackets removed if the decorator needs the wall fully clear. - 6
Refit after decorating
Brackets remounted to the original positions. New olives and PTFE used on every joint. Both unions tightened in sequence and pressure-tested under hot fire. - 7
Inhibitor top-up
Sentinel X100 dosed in line with BS 7593 to restore corrosion protection diluted by the refill. - 8
Bleed, balance, and check
All radiators vented. Lockshield re-opened to the recorded turn count. Delta-T checked at 20 C across the refitted radiator.